Tuesday, January 25, 2011

Painting my Laminate Furniture

So while I was stalking some of my favorite bogs--I came across a couple posts about painting cheapy laminate furniture (THIS one is my favorite and is the one that I followed).  I was OVER JOYED with the idea and prospect of painting cheapy laminate furniture--because my house is FULL OF THE STUFF!

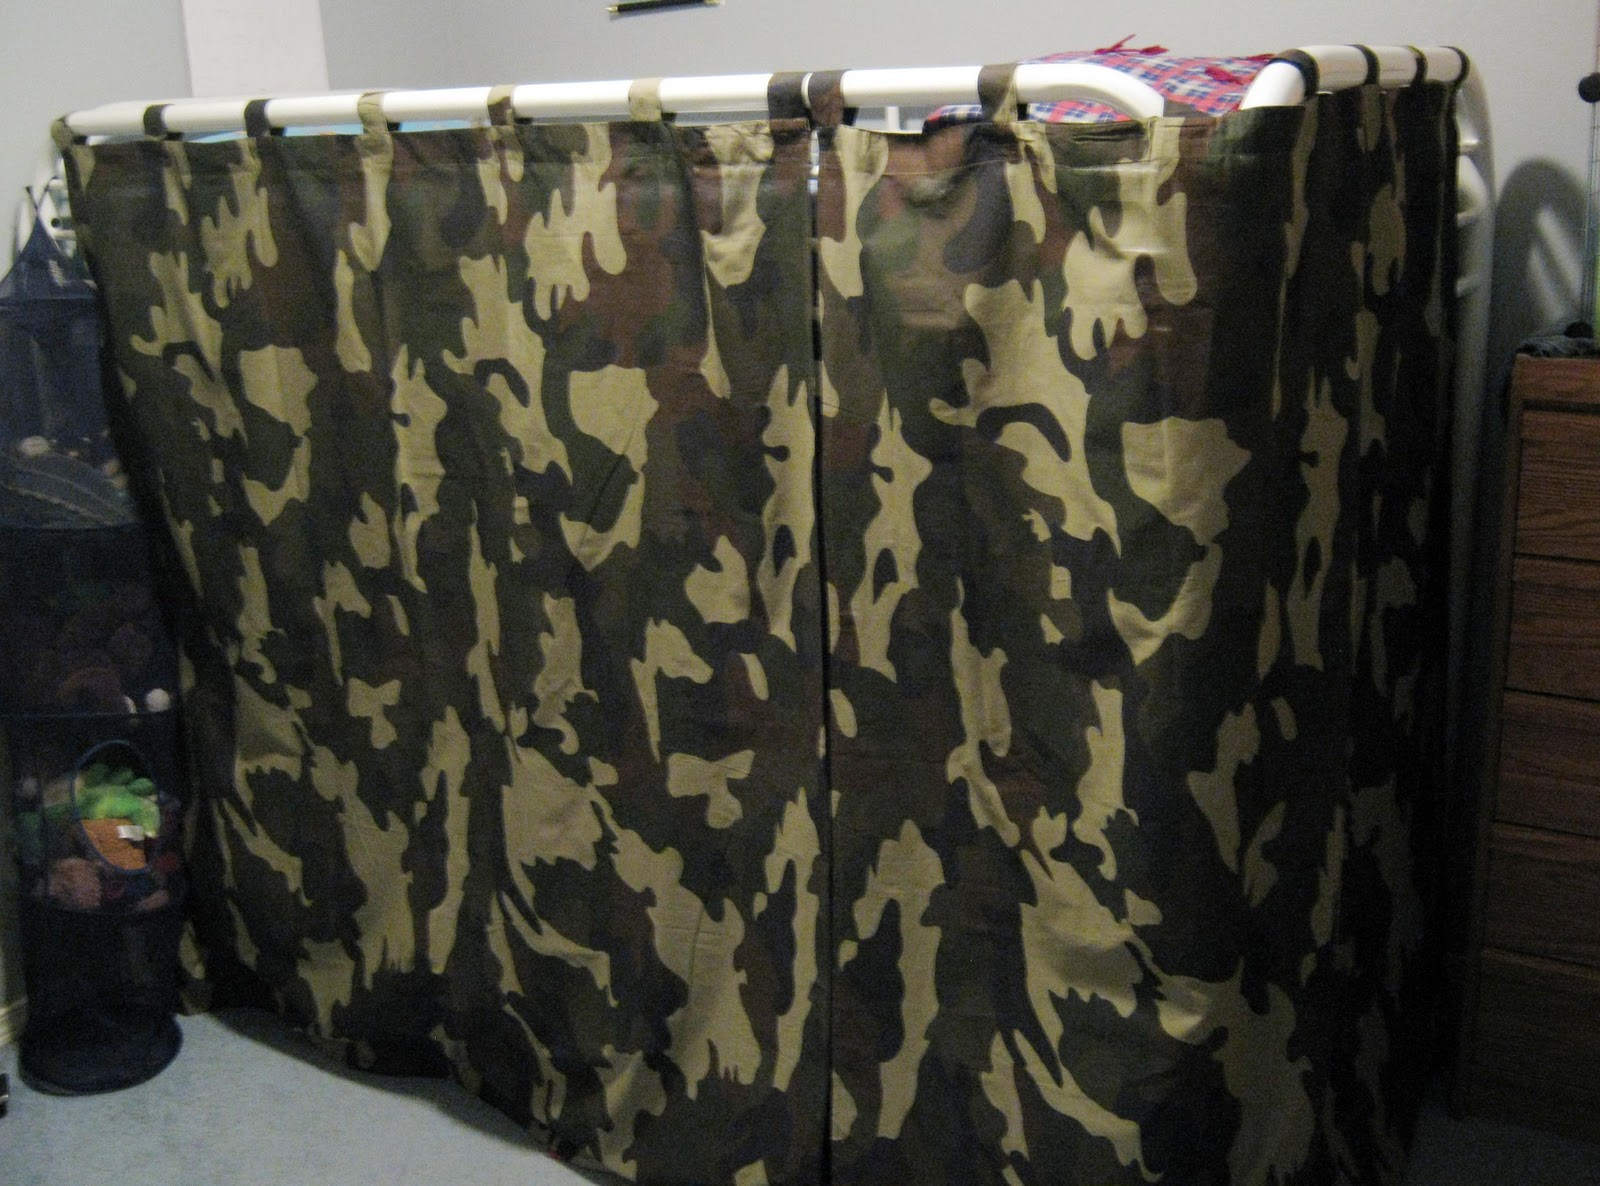
So for my first attempt I chose this lovely little book shelf from ikea.
(It normally is FULL of all of our DVD's and Videos (I forgot to take a picture of it while it was all full)--and yes, we still own a million videos and probably will for a while cause who wants to replace all of them?  And why do we have so many movies?  Because we haven't had and TV for the last 8 years.)

Blah, Blah, Boring
Especially since we got our new couches off craigslist (which you can read about HERE)--everything on that wall is just TAN.

Something had to be done!  And since my hubby didn't want me painting the wall--the furniture is getting the makeover!

So we start by spreading out my sheets (they make excellent drop cloths).  And yes--I am painting it right in my living room--cause it was a million degrees below zero in my garage.


Then I primed it with this TRULY AWESOME PRIMER (designed specifically to go over shiny surfaces WITHOUT SANDING!!!!):

I only did 1 coat of primer (Notice the little green vase thing in the background.  It will get a little makeover too): 

Then I started in with the paint (I used Behr Latex Semi Gloss Paint called Bison Brown)--and I started to have a heart attack because the paint out of the can looked SO HORRIBLE.  Look at the color:


And yes--now that I look back, I must have been crazy to paint with that DARK BROWN PAINT so close to my new to us couches!!!!

But thankfully not a drop of paint got anywhere it wasn't supposed to.  And DOUBLE THANKFULLY the paint dried to the nice rich deep brown that I had wanted.


After 3 coats (2 coats probably would have been fine--but I am anal that way) it was ready to put the shelves back in.  And of course while putting them in--THIS HAPPENED (on EVERY SINGLE SHELF I might add):


But really--you want the shelves to fit tightly--so there is no way to get those guys in there without a little scraping.  Nothing a little touch up paint couldn't fix.

And now they are all filled and looking AMAZING!!!


I know they would be much prettier decorated beautifully with pictures and greenery and cute baskets and such.  But in our 1200 square feet--we only have space for FUNCTIONALITY! 

But at least it is now functional AND beautiful!


I love it from EVERY ANGLE!!


Now--see the WHITE END TABLE between the couches?


Now that I know how easy it is to give my furniture a make over--I have selected this piece to be my next victim!  So hopefully I will have another great makeover very soon!

Monday, January 24, 2011

Spray Painted Lamp Shades

So as I mentioned before--we are now in the process of redecorating our Master Bedroom.

I started with these lamps--and if you remember I had just covered the lamp shades (HERE) last year.  But to be honest--I wasn't really ever too in love with them.  So it didn't break my heart to rip off the fabric and start over.

You may remember how lamp #1 started its life before the wonders and magic of spray paint:


Then after spray paint and with the new fabric shade:


And here is lamp #1 after several thin layers of brown spray paint--and let me just say that I LOVE the shades this way! 


However--I got sort of excited about painting and started on lamp #1 before I had taped off any of the inside of the lamp.  So then the inside was splattered with over spray.  So I had no choice but to spray the inside of the shade as well.

So now it looks like this:
No big deal--it just darkens the light coming through a little more and doesn't look QUITE as professional.

So I learned from my mistake and used a plastic shopping bag and painters tape to tape off the inside of Lamp #2

Like So:


Even though it can be tedious and boring to do the proper prep work before a painting project--the results are worth it.

This one looks much better:

So here's a little before and after for ya (My favorite part of any makeover).

Before:

After:

Have I ever mentioned how much I LOVE spray paint?

Tuesday, January 18, 2011

Bunk Bed Tent

So you might remember that we have 4 children and live in a 1200 square foot house

Needless to say--we live on top of each other.

Two of my boys literally do--live on top of each other...in bunk beds.

Well, my 4 year old--Landon, who lives on the bottom bunk, decided quite a while ago--that he would like some privacy.  (I'd like some too--but in 1200 square feet--none of us get much of that!)

But to give him his PRIVACY we got creative with the blankets and gave him a little shelter for his bottom bunk:


This was supposed to be for just a night or two--but we found that the little guy slept a lot better in his little fort.  So it became kind of a permanent fixture in his room.

But it was kind of a pain in the butt as the blankets would fall down or get pulled off and we would have to tuck them all back in perfectly for the little man to go to sleep.

I had often thought of sewing something more permanent--but it was always a project low on my list until me and my hubby saw these while shopping at Jysks in Canada:


Fun tab top curtains PERFECT for a little boys room and the PERFECT price of just $9.99 per curtain (regularly priced at $19.99 and not even on sale--I just had a question about them and the guy quoted me the wrong price on them--and so they honored that price at the till--SWEET!!!).

How PERFECT is that? It was CHEAPER than I could buy the fabric and it was already hemmed and had the tabs at the top. All I did was cut the tab, tuck under the raw edge and sew it in place. Add some Velcro and hang them up.


Now it is the PERFECT little place for PRIVACY, for FUN and HOPEFULLY for LOTS OF SLEEPING.


OK--maybe its more for fun than for sleeping.


That in my books is $20 well spent.

Linking Up HERE

Thursday, January 13, 2011

Big Changes

So for Christmas this year--my Mom and Dad decided to give us what everyone really wants for Christmas--CASH to buy whatever our little hearts desire!

So I recently took this $ and went on a little shopping spree on OVERSTOCK.com.  We needed new bedding for our Master Bedroom BADLY.  And I really mean BADLY

This is what we have been using for the last 6 years:


Then you might remember we added ourselves a little headboard for ONLY $1:


As much as I have LOVED the simple clean lines and bright fresh color or this bedding--It was just getting OLD.  It was actually my parents before it was ours--So I have no idea how old this thing really was.  But just let me tell you that it had STAINS and HOLES GALORE!!! 

AND as for our actual DUVET--we bought it about 10 years ago--and unfortunately we bought one that isn't sewn all the way around each square (BIG MISTAKE!!!)--so the down migrates all over the place!  So for 10 years we have had a VERY UNEVEN distribution of down throughout the duvet.  You have to stand on the bed and SHAKE and FLUFF all the down so that it will migrate back to where it is supposed to be--which most of the time is an impossible task--and so you are left with a whole bunch of stuffing in a few of the squares and the rest of the duvet is just the two pieces of material on top of each other!  Needless to say--we have hated it for 10 years. 

SO--during my little shopping spree I bought us these:

A No Migrating Down Alternative Duvet (in White):

And a Beautiful New Duvet Set (Including all the cute Pillows!) 

So now that I have new bedding--I have a whole new color scheme in our room.

So I get to paint the room--taking it from this green to something more neutral.  ANY PAINT COLOR SUGGESTIONS WOULD BE APPRECIATED!!)

I get to redo These Lamps (again):


And these pictures:


And I haven't even started in the adjoining bathroom.

Its going to need a whole new makeover to match.


So wish me luck on this little re-decorating adventure!

I think I have my work cut out for me!

Oh and Thanks Mom!!  It's JUST what I wanted for Christmas!

Tuesday, January 11, 2011

The Perfect Pomegranate

I told you guys that I have been stock piling a lot of my projects and recipes that I want to share--I just need to get them from off my camera and into the computer!!! 

Sometimes that part--and the actual writing of the posts take longer than doing the project themselves!!

Anyhoo.

This is post is one that I have been wanting to share for a while--and since I have a half a second to myself--HERE IT GOES:

Peeling the Perfect Pomegranate.
(My great Sister in Law taught me this little trick this Christmas--Maybe most of you already know this trick--but if you don't--you are going to love me for telling you this!)

So if you are like me--you like the taste of a pomegranate--but can't stand all the work and mess that they require.  So I have avoided buying them at the grocery store--desipite the pleas of my children--who don't mind either the work or the mess!

So Here is what you do to avoid both--well mostly the mess part--you still have to get the little seeds out--but this way is much easier!

1.  Fill a big bowl full of water and set it in your sink.

2.  Put the pomegranate in the water and then cut it with a knife UNDER the water.


3.  Now continue to work with the knife and your fingers UNDER the water uncovering all the little seeds. 

4.  Let all the little white pieces of bitter disgustingness float to the top and the seeds will sink.


5.  Skim off the white stuff.

6.  Drain off the water and you are left with these beautiful little jewels.


This method is PURE GENIUS as all the splattering and squirting of juices happens UNDER THE WATER and not all over you or your kitchen!!!  GENIUS I tell you!

When I have all them all seeded, I like to use them to top off a spinach salad.  (The perfect side to a plate of yummy pot stickers)


I love them paired with feta cheese and this dressing:


Yummy!

So sorry that this post is kind or late in coming--I don't know if pomegranates are even in season anymore. 

But if you find any--now you know what to do with them!

Related Posts with Thumbnails